Search This Blog

Showing posts with label diy. Show all posts

Saturday, October 12, 2019

Smart coffee table

I couldn't find any pictures of the before, but here is the outcome from restoring/updating my old ugly coffee table. It used to be all one color, a light brown stain. With the help from the girlfriend, we sanded the whole thing, then I painted the legs white and the stained the top with the leftover stain from the farmhouse table project.

Of course there had to be more to the project than that... I added a power strip, wireless phone charger, and some RGB lights under it. You may ask why does a coffee table need lights. It doesn't. But I recently discovered the blynk IOT app and I was looking for an excuse to control RGB led strip from my phone AND I already had power going to the table. For the power controller I used a nodeMcu that I bought off ebay for 2$ and some mosfets I had laying around. If I were to do it again I would just buy the RGB controller, lot of work for this useless feature(well its cool?)

Final product!

Built in outlet

NodeMcu and mosfet board

LED strip and all wiring

Friday, May 31, 2019

Shed finished!!

Last post on the shed. Staining is 99% done, doors finished, trim is mostly finished. But its usable and just waiting on the ATV to be fixed before it moves into it's new home.


Monday, February 11, 2019

Farmhouse table

Recently finished up a farmhouse table for my girlfriends new apartment. It's made from Douglas fir and pine wood purchased at the local home depot. Wanted to go with a nice hardwood tabletop but that would have doubled the total price.

We used the plans from the following website. But substituted 4 2x10 boards for the tabletop instead of the concrete tabletop. Also shortened the table and bench to only be 5 ft long.
https://theinspiredworkshop.com/x-base-outdoor-concrete-bench/

I believe the stain used was a "Kona" color:
https://www.homedepot.com/p/Varathane-1-qt-Kona-Premium-Fast-Dry-Interior-Wood-Stain-266161/203332251


Table in the new apt

Sanding an staining...

Friday, August 17, 2018

Start of Shed Build

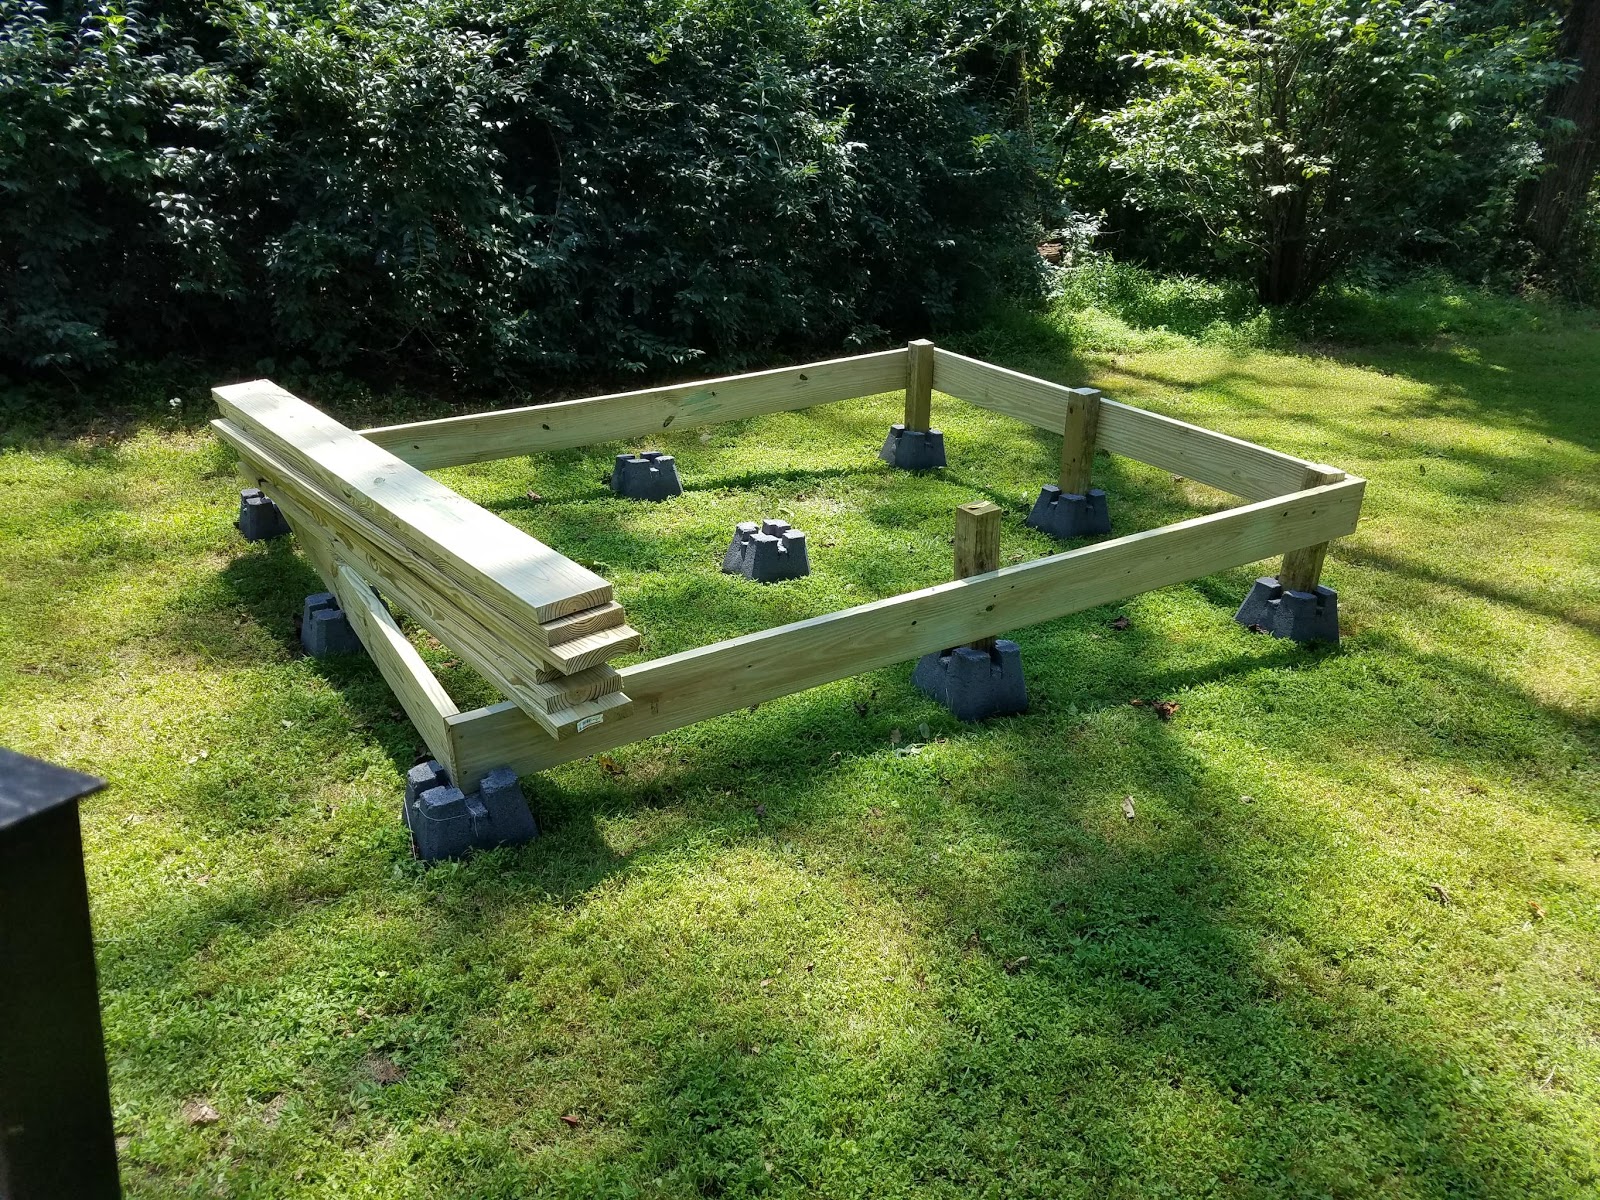
First post for the shed build. I'm making a 8' x 10' shed to house my atv. To start I'm leveling the floor made of 2x8's on 4x4 posts and cement deck blocks.

Thursday, March 29, 2018

Pallet wood adirondack chair

Latest pallet wood creation is an Adirondack chair. Still needs a coat of linseed oil. Hopefully will make a second one to match.

Thursday, July 27, 2017

New jeep grill

I started this project a week or so ago, started with the black perforated aluminum 3ft x 3ft sheet. Cut, spray painted, clear coated, and attached the sheet to the front plastic piece. It turned out pretty decent
Masked and applied 1st coat of white
Added 2nd color red
Cleaned up and ready for the yellow paint
All done! Md flag is lookin pretty good
Wala, installed on the jeep

Sunday, January 15, 2017

Adding FPV to the drone


The drone had been out of commission most of last year, due to the battery esploding(it didn't really explode, 1 of the cells died). After investing in a battery, I also bought a gimbal, gps, 5.8ghz tx/rx, and 4in lcd. So now it's like a legit kwad!!

I ended up taking the back-shell off the lcd, pulling the circuit board out of the 5.8g receiver and 3d printing a new back-plate to hold it all together. Oh and adding go-pro style mount and tab for Velcro strap.

Just waiting for a few more parts and it's time to rip.


Saturday, April 9, 2016

Back to Beer Brewing

Now that the robot competition is over. Back to working on the beer stand. I'm at the point where I'm throwing it together real quick just so I can make some beer! Finished installing the screen panel to the cart and the temp sensors to the m12 cables.

Rig ready to brew beer with control panel tilted out.

Close up of back panel where I installed easy access HDMI and USB connections for RPI.

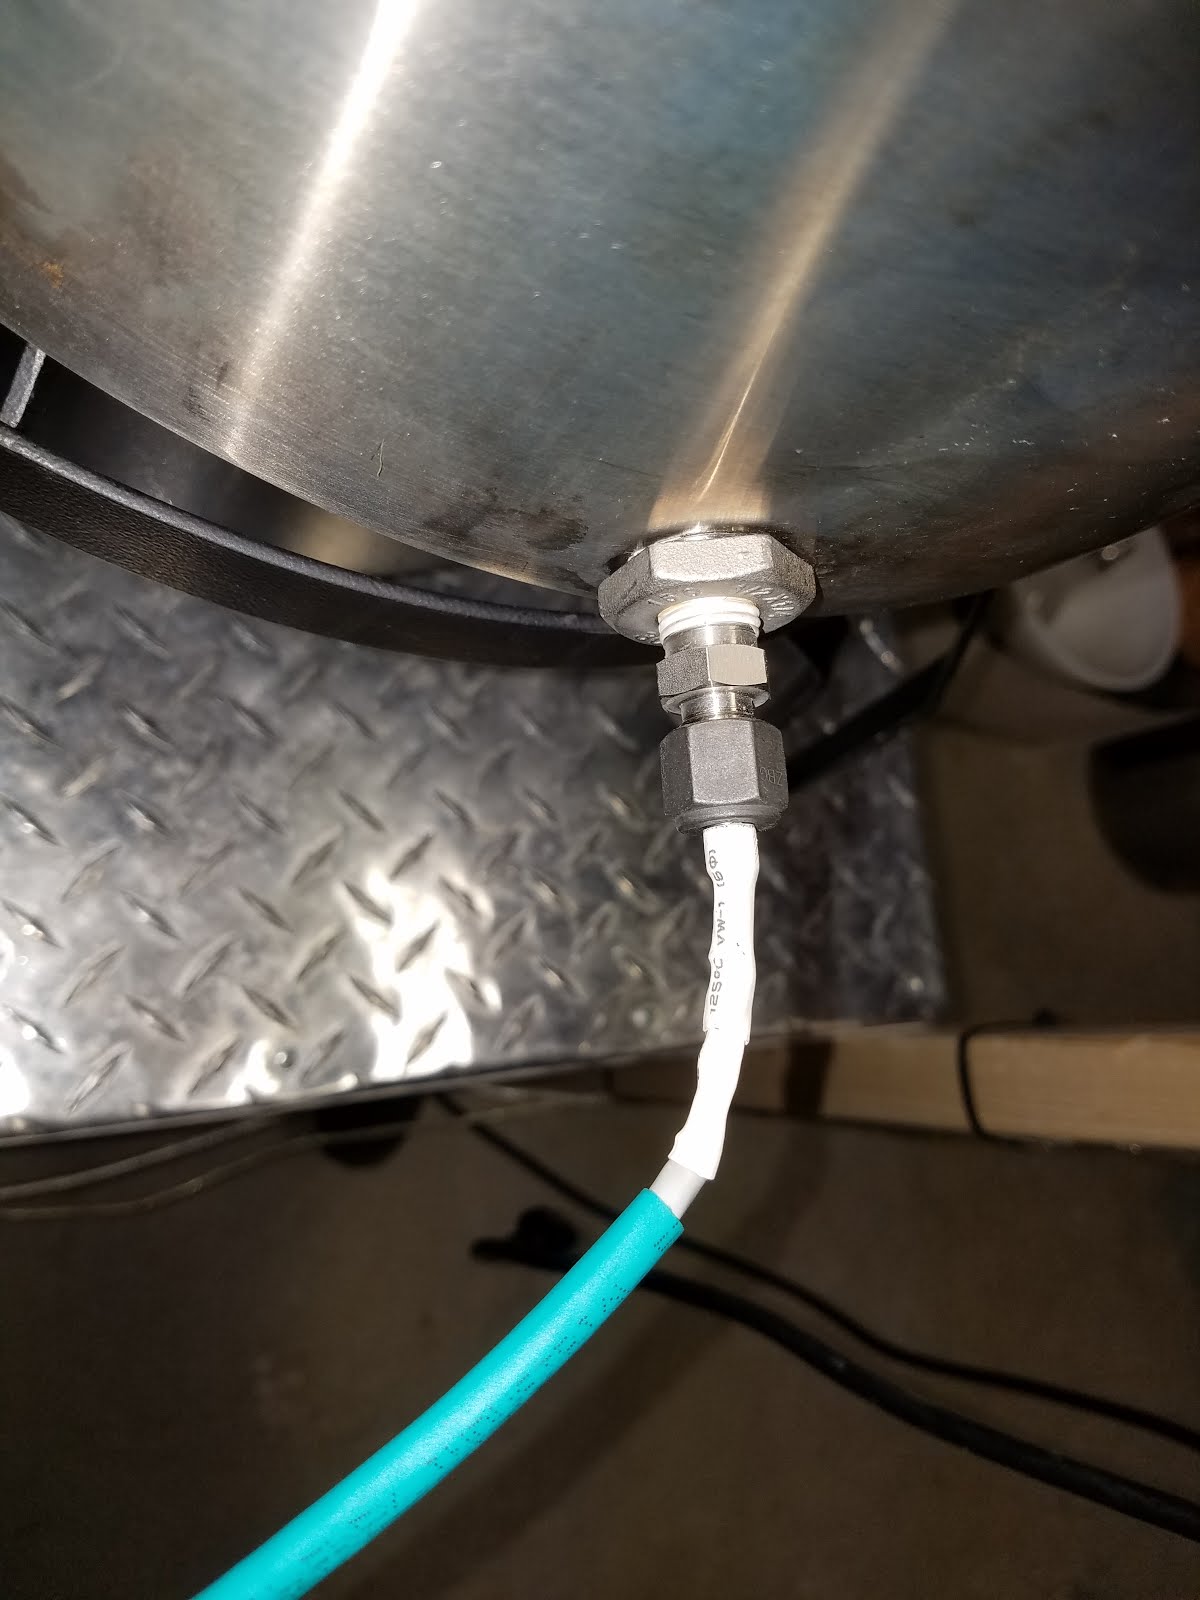
Made new temperature sensor cables.

That use the new M12 connectors 

Sunday, November 1, 2015

Battlebot Redesign

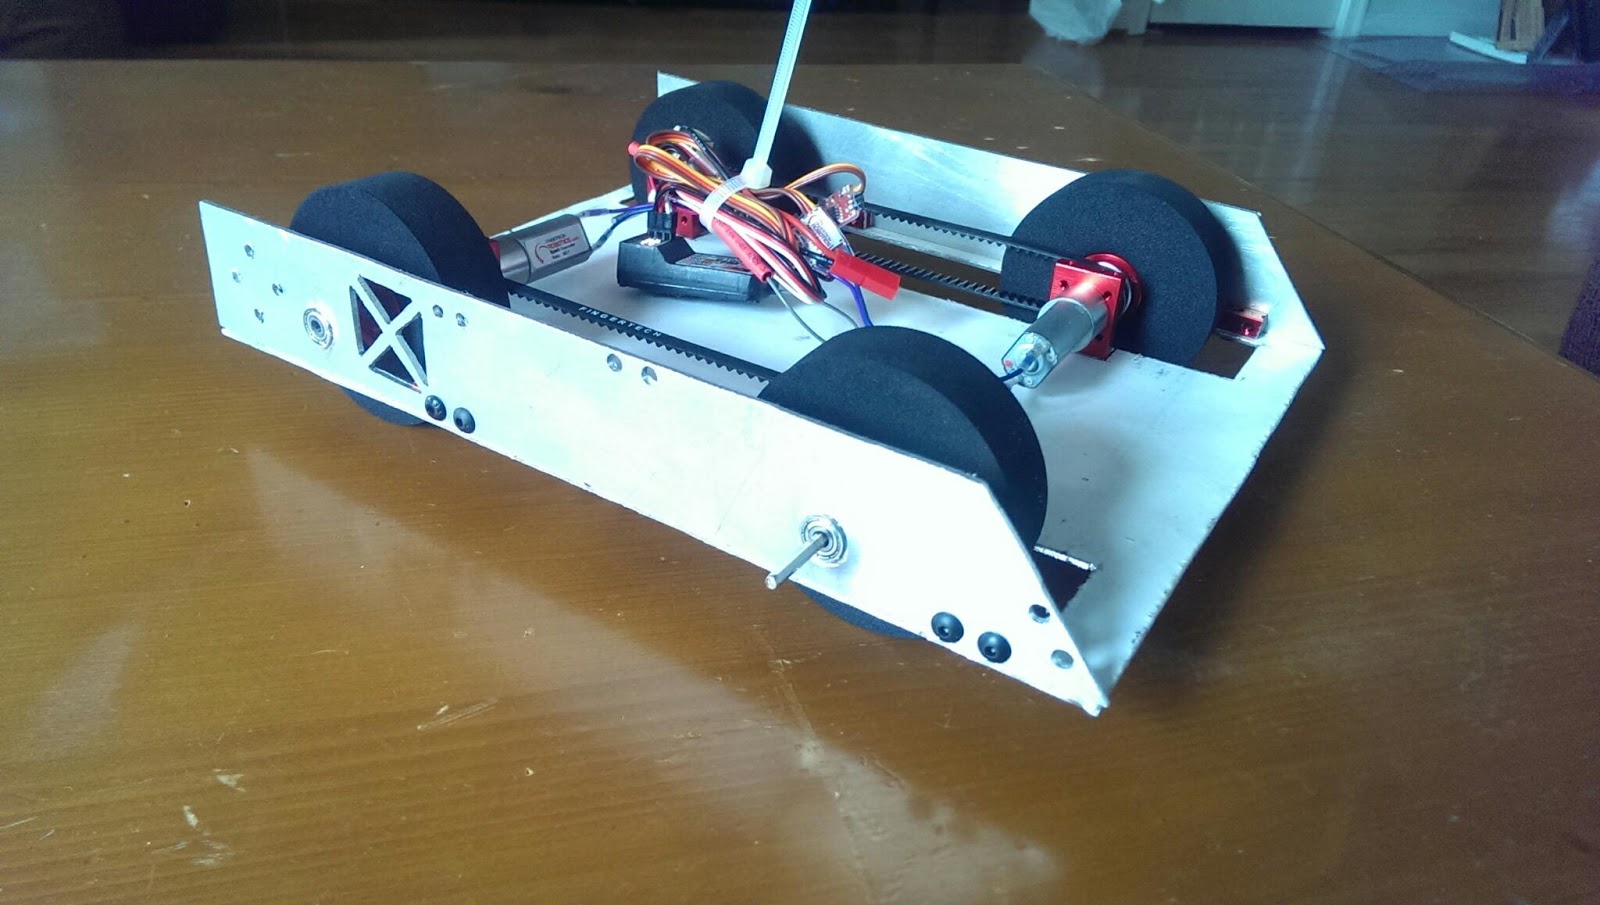
After going to the NERC competition at the Franklin institute in Philly I discovered my current design might get disqualified for running an unregulated pneumatic setup. So I added a regulator and now I'm over the weight limit. So I redesigned the frame and made everything more compact.

Saturday, April 25, 2015

Consolidating the homebrew electronics

About half way through the process of combining all 3 electronics boxes into one panel. Also adding WiFi and a webserver for remote temperature monitoring!

Sunday, March 22, 2015

Chopped the brewstand

The brew rig was getting to be over 7 ft tall, a bit hard to use. So I chopped the bottom shelf off. Overall it looks better and it will be easier to use. Success

Tuesday, December 30, 2014

Brew Rig Progress

The brew rig in action! Pump is mounted on the side and everything else is just resting on the shelves. Only problem now is the rig is about 5 ft tall. Planning on chopping the lower section off and finding a new place to put the worth chiller.

Saturday, February 8, 2014

New PCB for the brew computer

Recently upgraded the beer computer with a new custom pcb designed in eagle cad. The original board had turned into a rats nest after adding modifications over and over. The new board now allows all the breakout boards to easily plug in and is a smaller form factor. One difference is the mosfet to control the solenoid for the gas burner was moved off this board.

Original Board(The rats nest)
The new un-populated pcb.
Finished board!

Tuesday, October 8, 2013

Bottlecap Table

Made a mancave end table from scratch. One spare plank of wood(from an old table) and some 2x2  wood from homedepot for the legs, then about $60 of resin and many hours of beer drinking :)