Search This Blog

Thursday, April 16, 2020

Lighthouse wire sculpture

hackaday.com is one of my goto blogs to see cool projects others work on. This project was inspired by a Circuit Sculpture Contest they had hosted on there website. I had bought all the materials in preparation to enter it into the contest, however 1 month after the contest ended I had not even started CAD'ing the sculpture. Nevertheless the project was completed and managed to mesh it into the ongoing home automation project.

The sculpture is, if not obvious, a lighthouse. There is a power circuit and a 555 timer circuit triggering a transistor controlling a BIG led. The intent was to make it fade in and out, but it really just blinks.

The second part of the project is how the sculpture is integrated with the home automation server. Currently it sits on a shelf I made out of spare pallet wood and lumber from the farmhouse table project. I painted and stained it to match the coffee table. And light the coffee table it has a RGB led strip on the back for some ambient lighting. I used a Magichome RGBW Light controller reprogrammed with Tasmota software to control the RGB led strip, then wired the extra white output to a barrel connector which plugs into the circuit sculpture. Look at my earlier RGB light controller post for pics and info on the led controller I used.

Future plans will be to create a set of openhab rules to turn the lighthouse sculpture on when some event happens. Could be a phone notification, phone call, ISS flying overhead... TBD

3d Printer Enclosure


This whole project began because my 3d prints were failing to stick to the glass printer bed. I think its only happening in the winter because I keep the apartment on the colder side and that doesn't treat the printer well. So to help with that you can build or buy enclosures for your printer. I pretty much followed these instructions:

Using these thingiverse files to print the enclosure pieces:

I went with 3 white IKEA lack tables and printed the pieces in white as well. After everything is complete, i think it turned out nice but would have preferred the wood finished lack tables.


Below is a pic of the Led strip light controller, 2 rows of white led's and the controller are fastened to the bottom of the top table. A wemos controller is used to receive MQTT commands from the openhab/mosquitto server so lights can be turned on/off and the temperature inside can be reported back. I used a 1-wire ds18b20 temp sensor, b/c thats all I had.

I cut a hole in one of the tables, ran the wires through, and added some 3d printed brackets to hold the 3d printer controll box.

Overall turned out well, but the printer is still a POS. It will be upgraded in the future.

Sunday, February 16, 2020

Wifi RGB controller

After doing the smart coffee table project, I read online that others had done the same thing in a much much easier way. And cheaper... Instead of soldering the mosfet circuits together and connecting it to a nodemcu, you can pretty much buy commercially available versions(link here). Then you just reprogram them to your liking. In my case I want it to talk MQTT to my openhab server.

I also discovered the lovely Tasmota software, a more elegant and put together version of what I made.

To do this you have to solder some wires to the labeled pads on the pcb and connect it to your usb to ttl converter. 

In my case I left the header soldered to the board in case I ever want to reprogram it in the future. I plan to use this controller with some led strip lights that I am putting above my 3d printer. 

Wifi Door Sensor

I started out by buying a NEO Wifi Door Sensor. They are fairly cheap and I had read online that they had a esp chip in them. So the theory was I could reprogram it to talk MQTT to my openhab server. The device was fairly small and runs off a cr2 battery.


So I tore it apart and saw the pads labeled vcc,gnd,tx,rx,and io_0. Thought it was a walk in the park, solder some wires and load code through the arduino ide. 


This is where everything fell apart... Couldn't get an code to load and I realized there was another mcu sharing the tx/rx lines. In the end I gave up and just took the magnet and reed switch, then built my own using a Wemos D1 Mini.


I used the schematic found from this website: http://www.whatimade.today/esp-8266-mailbox-notifier-using-deepsleep-and-blynk/. A single 18650 battery powers the unit, currently monitoring the battery to determine how long it will last. The device was then packaged up on a hand soldered pcb.


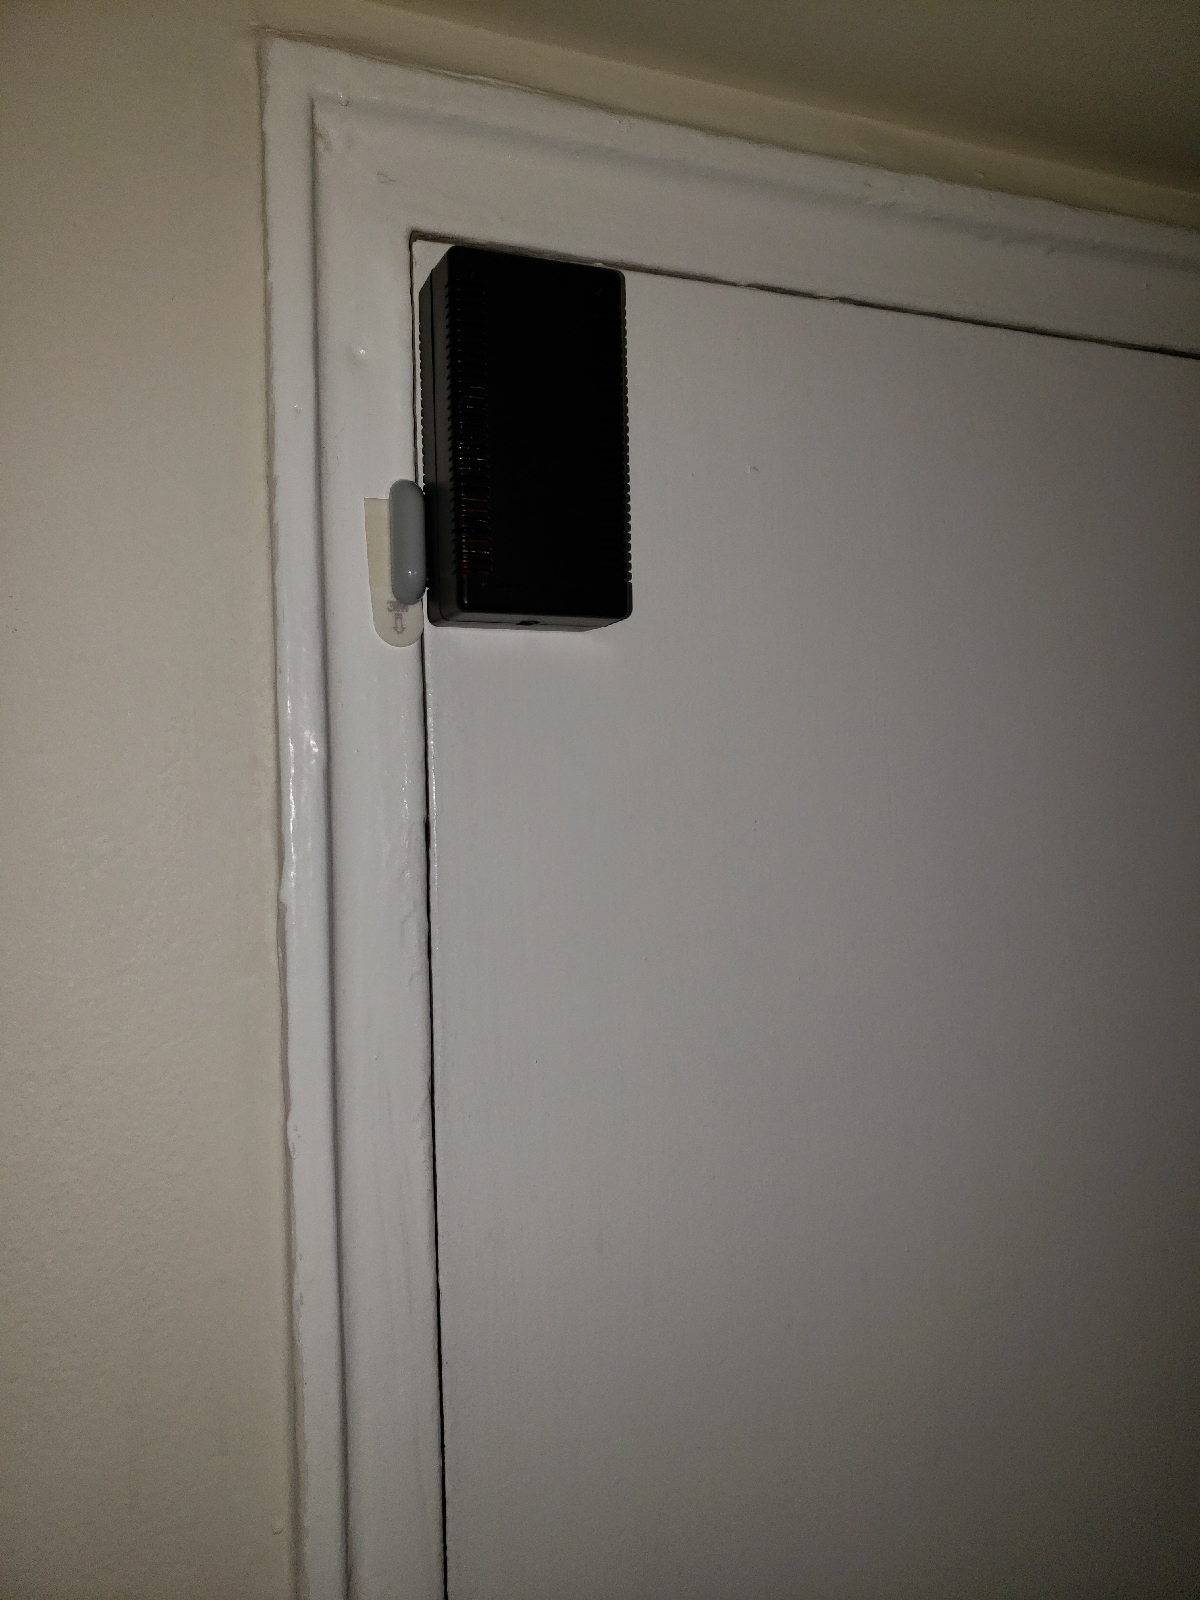
Then placed on my front door.


So now every time the door is opened, it sends an update to the openhab/Mqtt server, the server then turns on my foyer and living room lights. #nerdgoals

Code: https://github.com/kbittle/Esp8266_DoorSensor

Wednesday, January 8, 2020

RPI NAS

Started a new project over Christmas break. Using some old parts and newish ebay components I was able to setup a minimalist NAS, if that's a thing lol. 

Parts list:
- Raspberry pi 1 model b w/o ethernet, this might be the 256mb model aswell 
- enc28j60 ethernet module
- 4 port usb hub
- 2 usb hard drives
- 2 old usb thumb drives
- 12v power supply 
- 5v step down regulator

If you kind of understand what's going on with this project, then you're probably pretty perplexed. Why use a pi without a network interface for a project that needs ethernet? Why use a 12v power supply when everything requires 5v? Why didn't you use a powered usb hub? The simple answer is, this is what I had on me and I didn't want to spend the $$$. So there were many inefficiencies to get this to work. I used a $2 spi ethernet module that the latest Raspbian os supports, used a $1 voltage converter to step the 12v down to 5v, and spliced the non-powered usb hub to pull power from a separate source. 


After soldering it all together, making a wood case out of scrap wood, and setting up the pi with samba. It works! But it's slow as fuck. Pretty much can only store documents on this punny beast, pictures and large files take to long to transfer to be useful. Pretty sure the issue is the ebay ethernet adapter. If I switched out the pi with a rpi 3 or 4, I think this would function alot better. 

Thursday, November 21, 2019

Adding Wifi to a Dumb RGB Light Bulb

Many years ago I had bought a RGB led bulb off amazon to try out, when there really wasnt a smart bulb market. After collecting dust more many years it has found a use! I moved into a new apartment and the foyer light was burnt out, i tried like 4 different LED and non-LED bulbs, and this cheapo RGB bulb was the only one that worked.

Problem with this bulb is when you turn it on, it comes on red and you have to use the IR remote to change it to white....  I really dont want to use a remote, so time for an upgrade. Luckily I had a ESP micro laying around, specifically a Wemos D1 mini. This is also a great opportunity to add another device to my home automation system. The plan is to have this device communicate using MQTT to a raspberry pi running Openhab.

Steps to put a new brain in the light bulb:

  • Pull off plastic cap, pry original PCB from aluminum housing(just glued down with some sort of thermal glue).
  • De-solder the original IC, oscillator, and IR receiver led.
  • Wire the original DC power wires into the wemos and add new power wires between wemos and led board.
  • Add 3 wires between wemos and led board for red, green, and blue control.
  • Program custom code(Github link). I used the Arduino IDE and the following libraries:
    • ESP Wifi
    • MQTT
    • OTA downloads


Board stack showing wemos under RGB led board.

Wires soldered onto the pads of the existing IC.
Update: In retrospect I should have just used the really nice tasmota software available for free and created a custom config.

Sunday, October 13, 2019

Wild Berry IPA Recipe

Another experimental beer in the carboy. Today(10/13/19) brewed a wild berry IPA, using the wild berries(some people call them wine berries) from my parents property. After the pumpkin beer was a partial success, hoping this one will be better!
Recipe:
7 lb pale malt
1 lb 5oz 10 row barley
~2oz nugget fresh leaf hops
~0.5oz cascade fresh leaf hops
1oz chinook pellet hops
~6 cups reduced wild berrys
1 wirflock tablet
White labs Belgian strong ale yeast
60min: chinook, 1/4 cascade/nugget mix
45min: 1/4 cascade/nugget mix
30min: 1/4 cascade/nugget mix
15min: wirflock tablet, 1/4 cascade/nugget mix
Racked beer on top of wild berry juice.